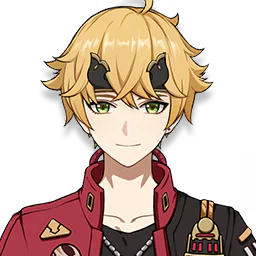
★★★★ PyroPolearm
Thoma
Protector From Afar
The Kamisato Clan's housekeeper. A well-known "fixer" in Inazuma.
- Region
- Inazuma
- Released
- Version 2.2
- GenGuru tier
- A Support
Overview
- Shielder
- Off-field Pyro support
Thoma is a Pyro polearm user whose main job is keeping the team safe. His Elemental Skill drops a Blazing Barrier that scales with his Max HP, and his Elemental Burst, Crimson Ooyoroi, makes the active character's Normal Attacks trigger Fiery Collapse, which deals Pyro damage and refreshes the barrier about once a second. That makes him a natural partner for on-field characters who attack often.
Build him in one of two ways. As a shielder, stack Max HP and enough Energy Recharge to have the burst up every rotation. In Burgeon teams, where his off-field Pyro sets off Dendro cores, switch to Elemental Mastery, because the reaction damage scales with it and not with his HP.
Weapons
Best first. Every polearm on this list links to its page.
-
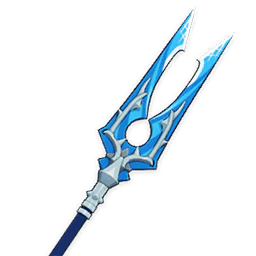
"The Catch" ★★★★
A free polearm from fishing. Energy Recharge plus Burst DMG and Burst CRIT Rate make it the best easy option. The Energy Recharge keeps his burst, and with it the repeating shield, available every rotation.
-
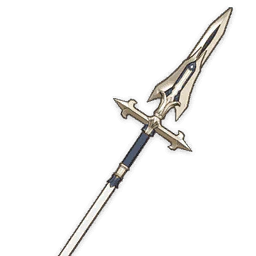
Favonius Lance ★★★★
Energy Recharge and particle generation help him and the team keep bursts ready.
-
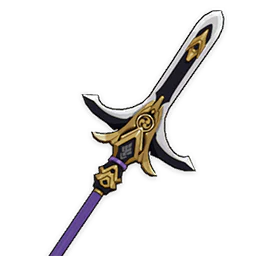
Kitain Cross Spear ★★★★
Craftable in Inazuma. The Elemental Mastery suits Burgeon builds, and the passive gives back Energy after using his skill.
-
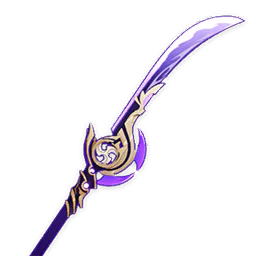
Engulfing Lightning ★★★★★
Its large Energy Recharge stat removes his energy worries if you happen to own one, but it does nothing for his HP.
-
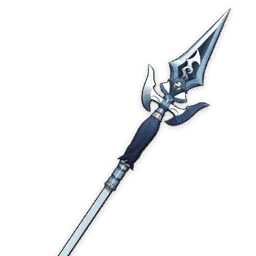
Black Tassel ★★★
A 3-star with a big HP stat. Good enough if all you want is a sturdier shield.
Artifact sets
-
Tenacity of the Millelith + Emblem of Severed Fate 2-piece each
A simple shield build: more Max HP for a stronger barrier and more Energy Recharge for the burst.
-
Noblesse Oblige 4-piece
If no one else in the team runs this set, it turns each of his bursts into a party ATK buff on top of the shield.
-
Gilded Dreams 4-piece
For Burgeon teams. It adds Elemental Mastery, and Burgeon damage scales with the Elemental Mastery of the character who triggers it.




Main stats and substats
- Sands
- HP% or Energy Recharge or Elemental Mastery
- Goblet
- HP% or Elemental Mastery
- Circlet
- HP% or Elemental Mastery
- Substats
- Energy Recharge > HP% > Elemental Mastery > HP
Talent priority
- Elemental Burst Crimson Ooyoroi
- Elemental Skill Blazing Blessing
Teams
-
Burgeon
Xingqiu and Yelan create Dendro Cores with Nahida, and Thoma's Pyro bursts them into Burgeon. Run the Elemental Mastery build here.
-
Yoimiya Vaporize
Yoimiya attacks constantly, so Fiery Collapse triggers as often as it can and keeps her shielded through her whole field time.
-
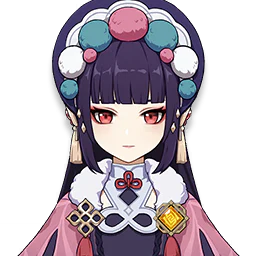
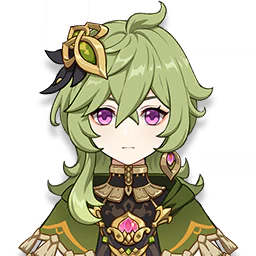
Budget Burning
An easy team built from 4-star characters. Thoma adds Pyro and a shield while Collei keeps Burning going and Sucrose groups enemies and spreads the elements.






Tips
- Fiery Collapse only triggers on Normal Attacks, so he works best beside characters who attack with them a lot, not ones who rely on skills or charged attacks.
- Each new barrier stacks on top of what is left of the old one, so recasting his skill before the shield breaks builds a thicker shield.
- The shield absorbs Pyro damage far more effectively, which makes him a comfortable pick against Pyro enemies.
- If Thoma falls, Crimson Ooyoroi ends at once. Do not leave him on the field to take hits.
More teams with Thoma
Other character guides recommend Thoma as a teammate in these teams.
-
Budget Burning
From the Emilie guide
-
Budget Mono Pyro
From the Lyney guide
-
Burning with Emilie
From the Kinich guide

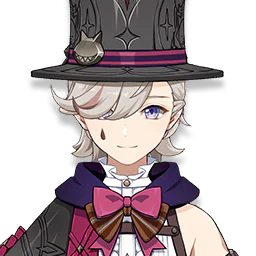
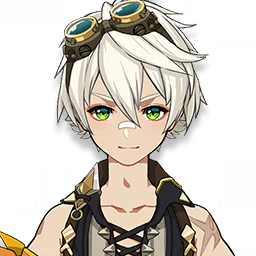
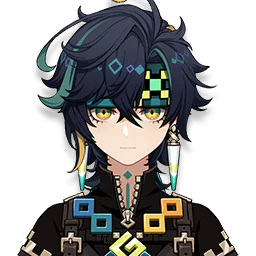
See every team comp, grouped by reaction.
Base stats at level 90
- Base HP
- 10331
- Base ATK
- 202
- Base DEF
- 751
- ATK
- 24.0%